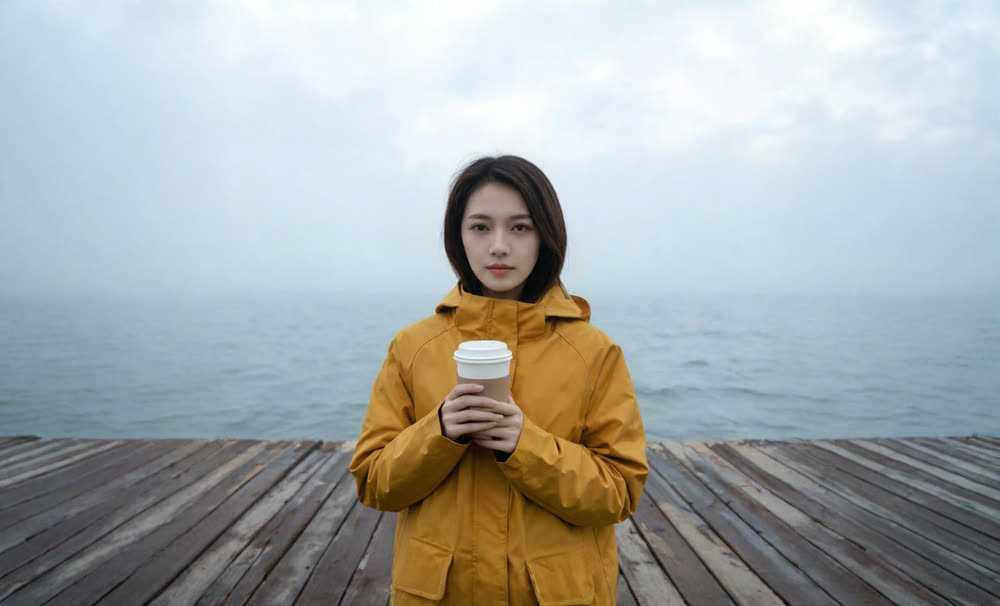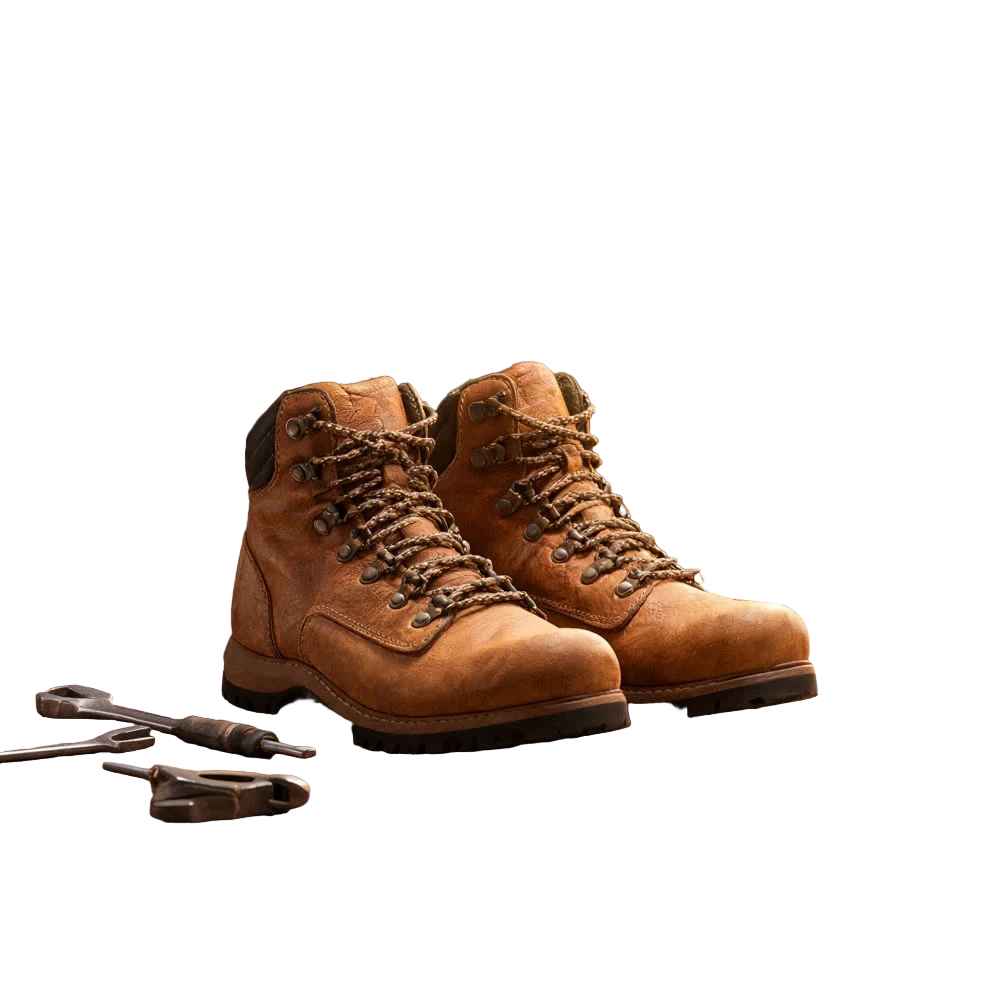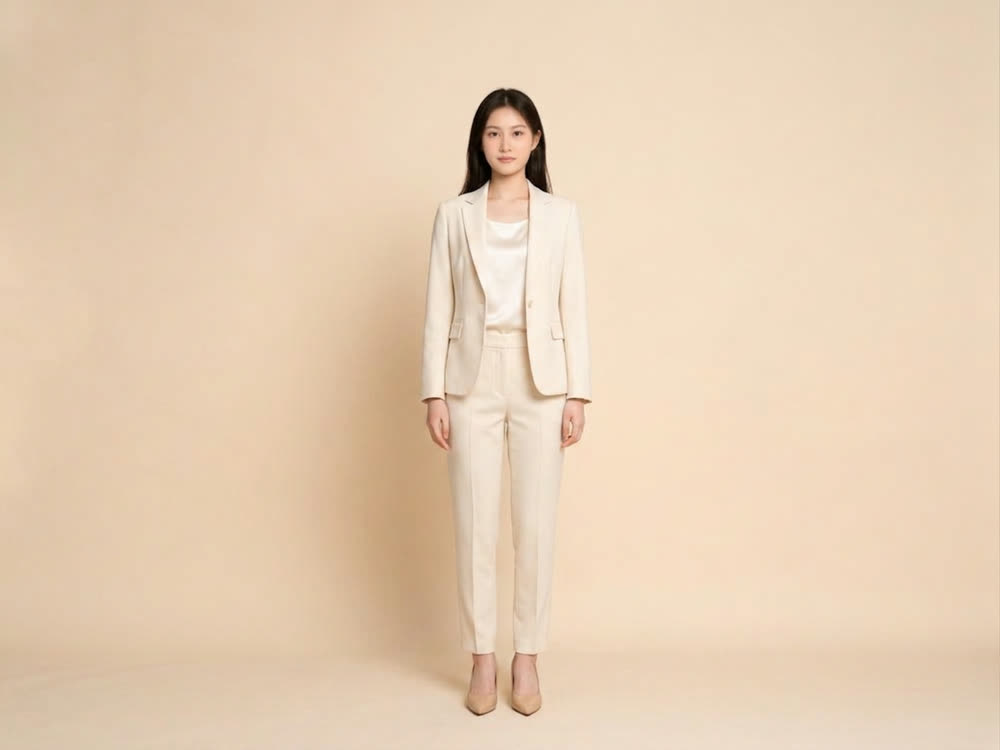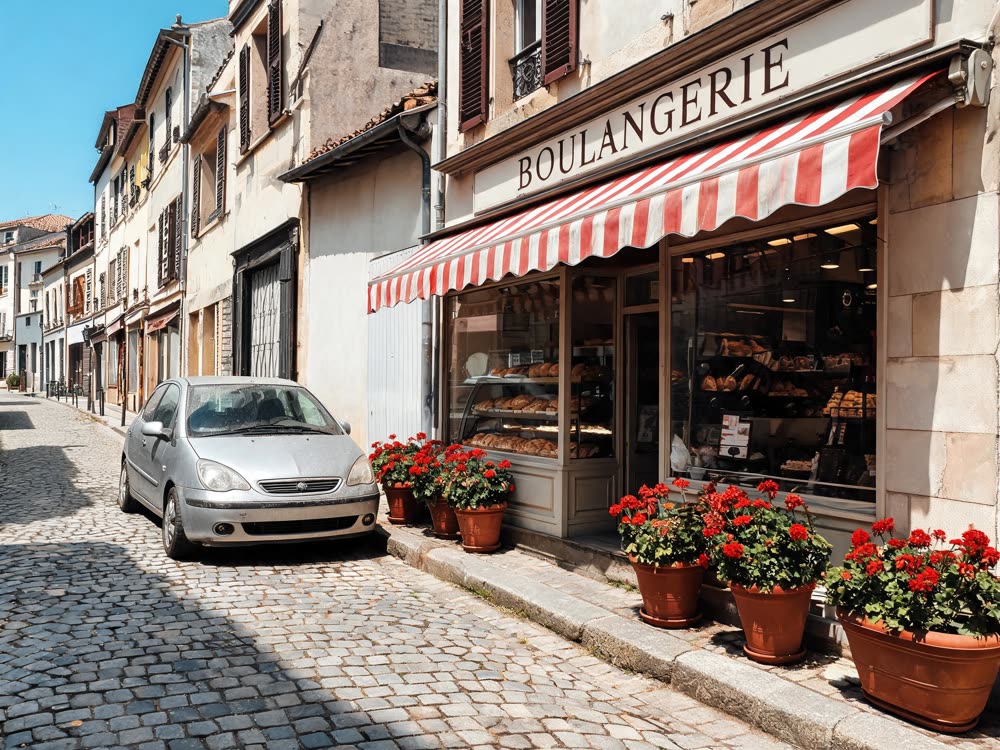
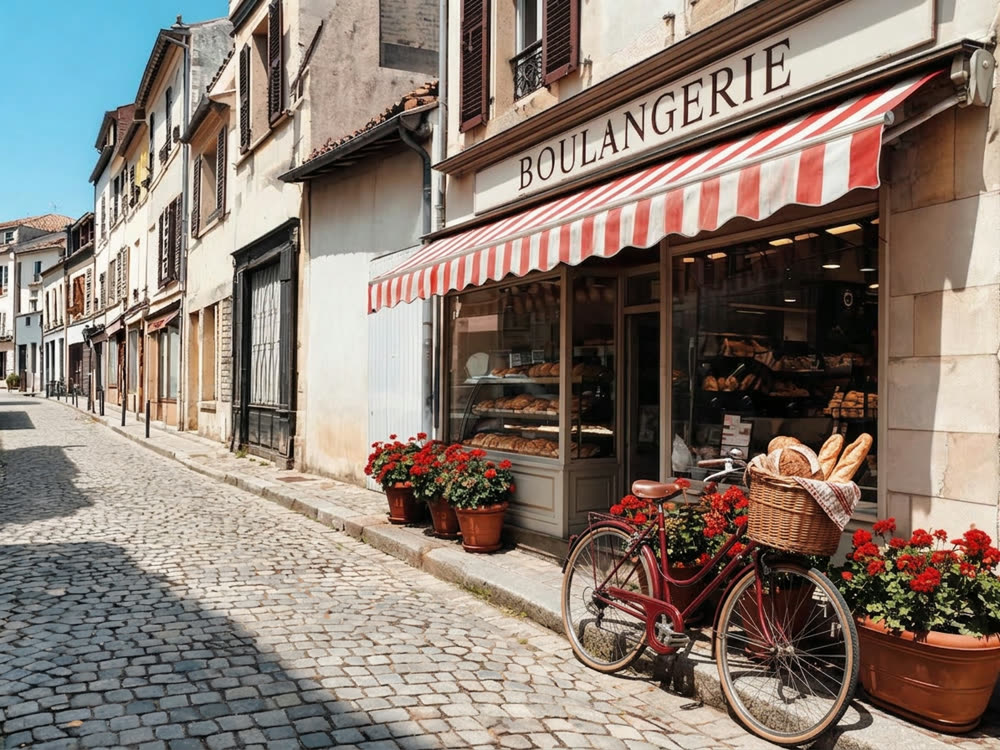
A tourist walking through the shot, a bin in front of the shopfront, a power line across the sky. Or the opposite problem: the scene is perfect but the object in it is wrong. AI inpainting fixes both. You paint over the part you want changed, and the model rebuilds only that region so it matches the rest of the photo.
This guide shows how to remove objects from photos, and how to replace them with something else, using Kinoseed's Inpaint tool.
What you need
- The photo to edit (PNG, JPG or WEBP).
- Optionally, a picture of a product or object you want placed into the scene.
Step by step
- 1
Upload the photo
Open Inpaint and add your image. It fills the canvas, ready to paint on. Scroll to zoom in when you need to work on an edge.
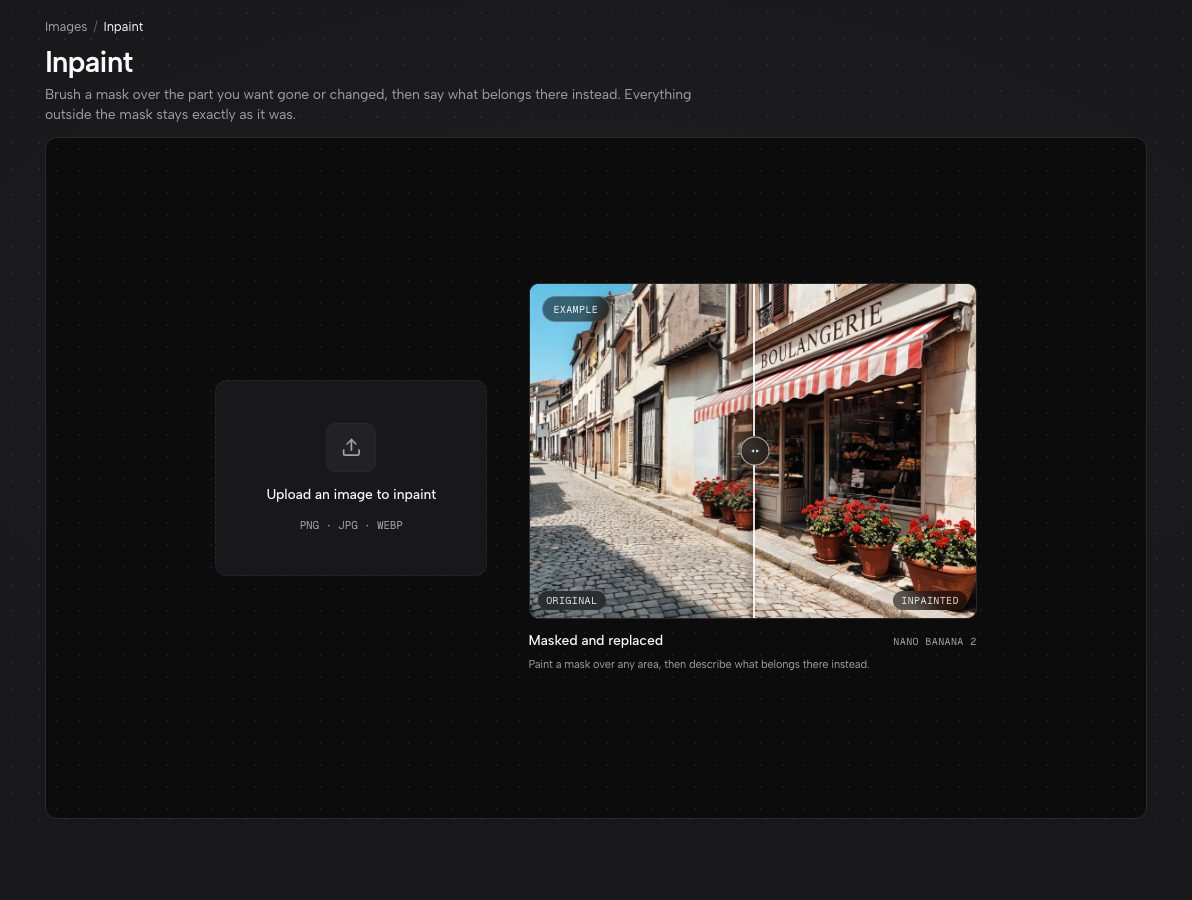
Inpaint before you upload: the drop zone, and an example of a masked and replaced street. - 2
Brush over what should change
The Brush is selected by default and paints a translucent highlight. Use Size to set the brush width, the Eraser to trim any overshoot and the Hand to move around the canvas. Undo and Redo sit in the same toolbar, and Clear all starts the mask over.
- 3
Describe the replacement, or leave it blank
Type what should appear in the painted area into the bar under the canvas. Leaving it empty is a mode of its own: an empty prompt removes whatever is under the mask and reconstructs the background behind it. That is the cleanest way to erase a person, a sign or a stray object.
- 4
Add a product (optional)
Add product/image places that exact object into the masked area, matched to the scene's perspective, lighting and shadow direction instead of pasted flat on top. It is how you put your own product on a real shelf.
- 5
Generate, then keep editing
Generate stays disabled until something is masked. When the result comes back, Edit further loads it as the new source so you can mask the next thing, one fix at a time.
Inpaint
Paint a mask over any area, then replace it with nano-banana
Open in appFree to explore. Sign in to generate.
Prompts to copy
Paste any of these into Inpaint as a starting point, then change the details to fit your photo.
Replace
a red vintage bicycle leaning against the kerb, a wicker basket of bread on the front
Rebuild
clean poured-concrete wall, no signage, matching the existing light
Add
a shallow ceramic bowl of lemons, sitting on the counter surface
Wardrobe
a red leather jacket, worn and creased, soft studio light
Removing vs. replacing
Both start the same way: mask the area. What you type decides the rest. Nothing typed means remove and fill in the background. A description means replace with that. Everything outside your mask is instructed to stay exactly as it is, which is why the cobbles and the shop sign in the example above are pixel for pixel the same.
More examples
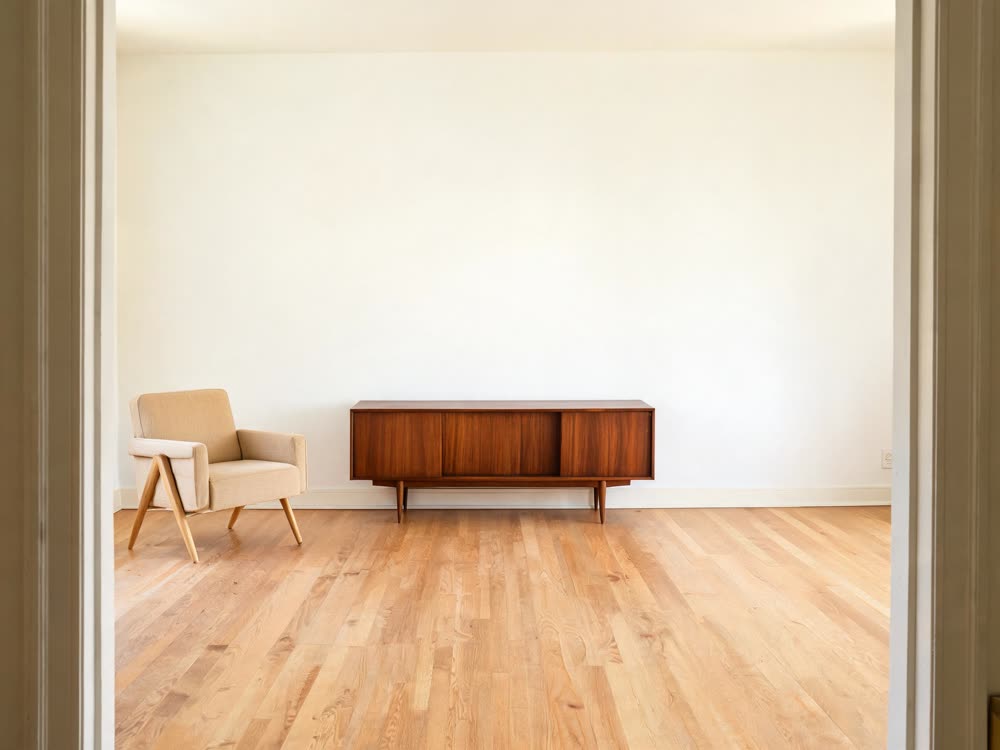
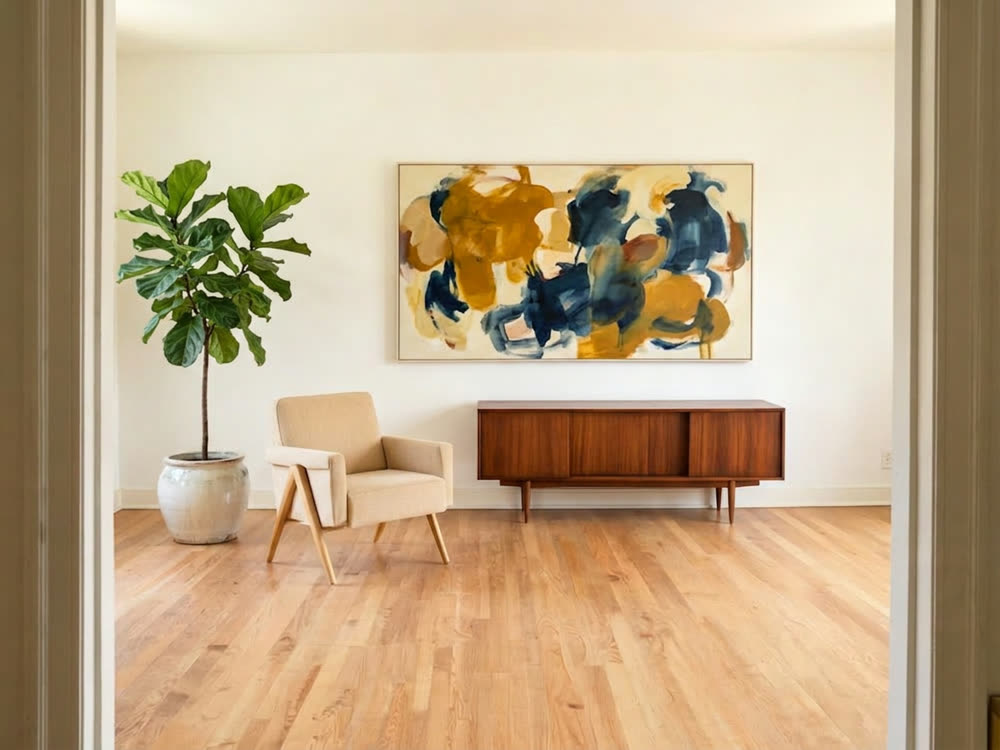
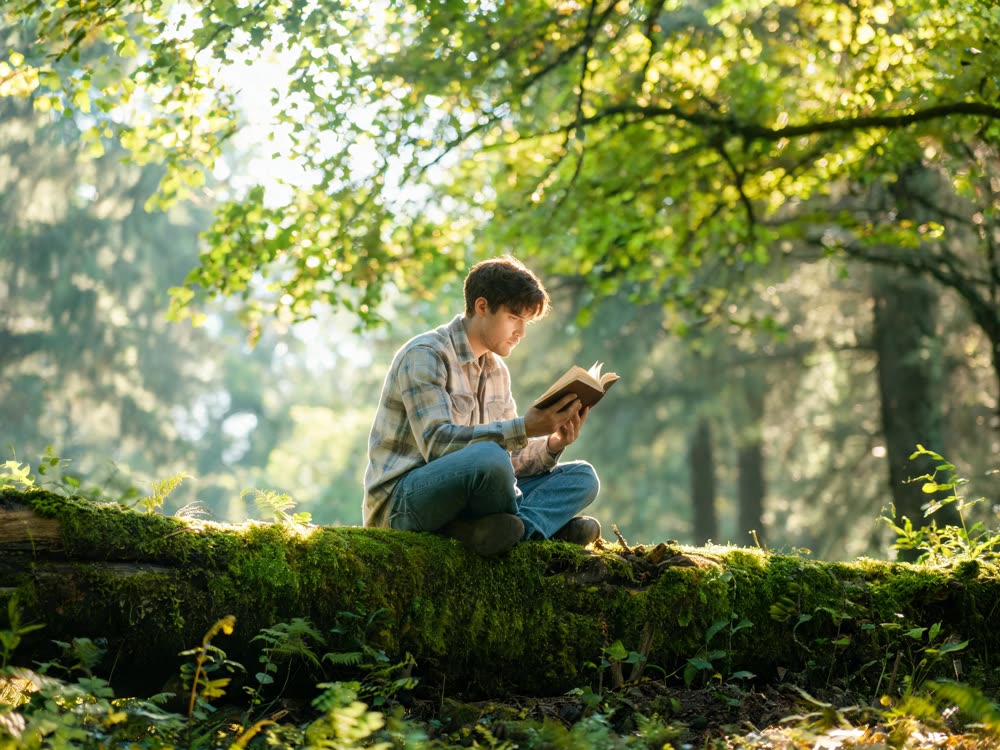
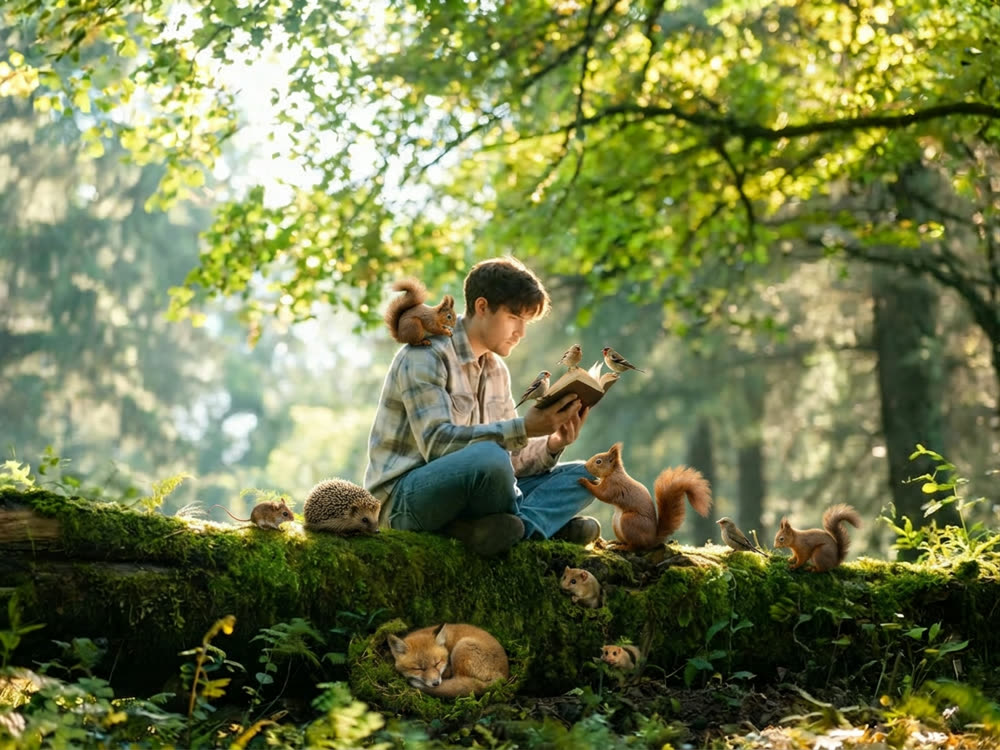
Tips for better results
- Mask a little past the edges of the object. A mask that hugs the outline too tightly leaves a faint seam where old and new pixels meet.
- Mask the shadow too. Remove a person but leave their shadow on the pavement and the photo still looks like someone is standing there.
- Name the material and the light, not just the object. "Red leather jacket, soft studio light" beats "jacket" every time.
- If more changed than you expected, your mask was bigger than you thought. Zoom in, trim it with the Eraser, and run again.
- Fixing several things? Do them one at a time with Edit further. Small masks give the model less to guess.
Frequently asked questions
How do I remove a person from a photo?
Paint over the person (and their shadow) with the Brush, leave the prompt empty and press Generate. The area is filled with background that matches the surroundings.
Will the rest of my photo change?
No. Only the masked region is regenerated. Everything outside it is kept as it was.
Can I put my own product into a photo?
Yes. Mask where it should go, use Add product/image to attach a picture of it, and Generate. The product is placed with perspective, lighting and shadows matched to the scene.
What is the difference between inpainting and outpainting?
Inpainting changes something inside the frame. Outpainting extends the frame outward. For the second, see the guide to extending an image with AI.
Try it on your own photo.
Inpaint is open to explore. The price of a run is on the button before you spend anything.