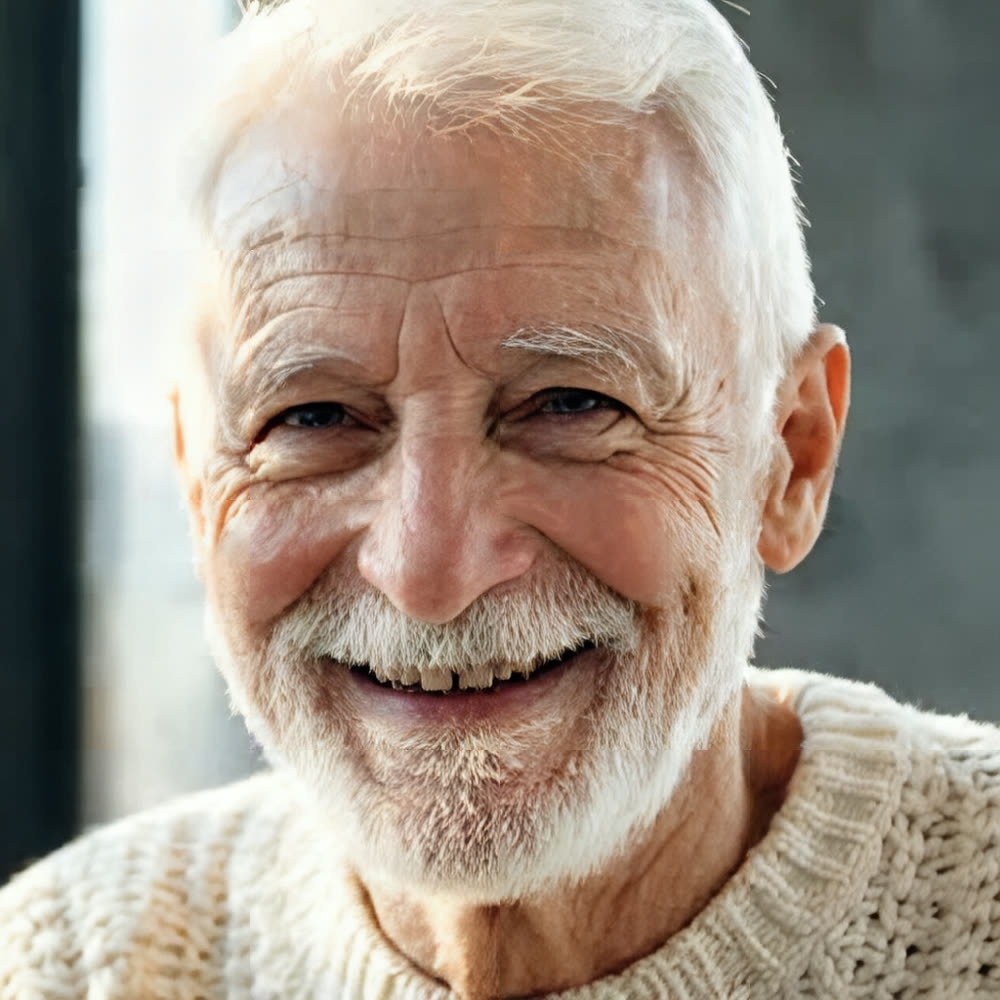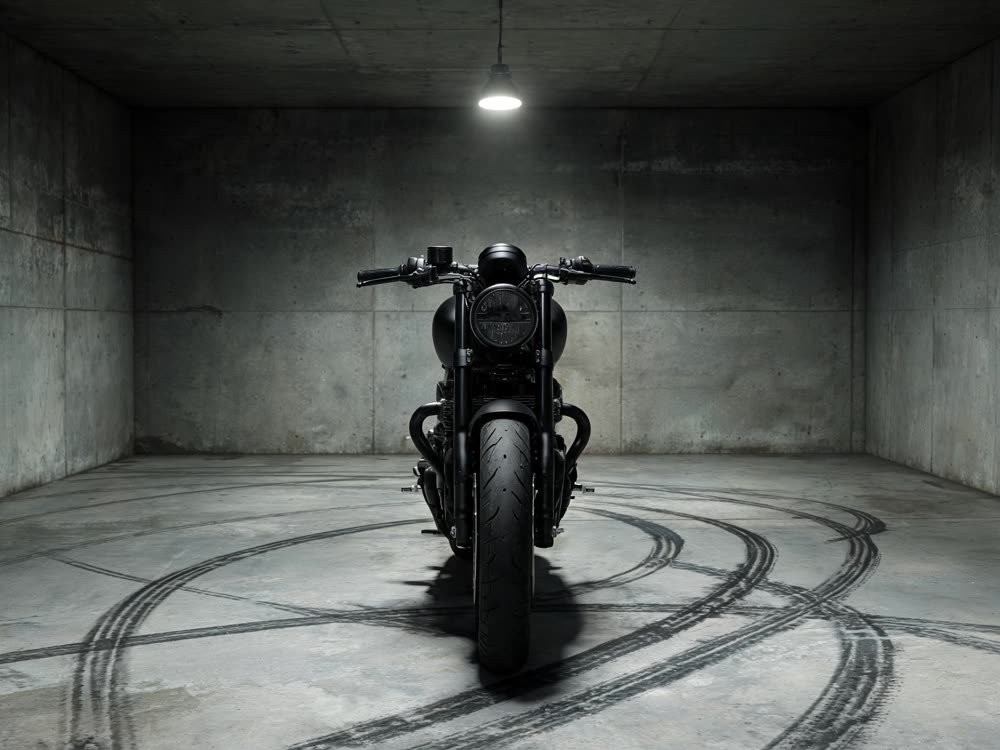
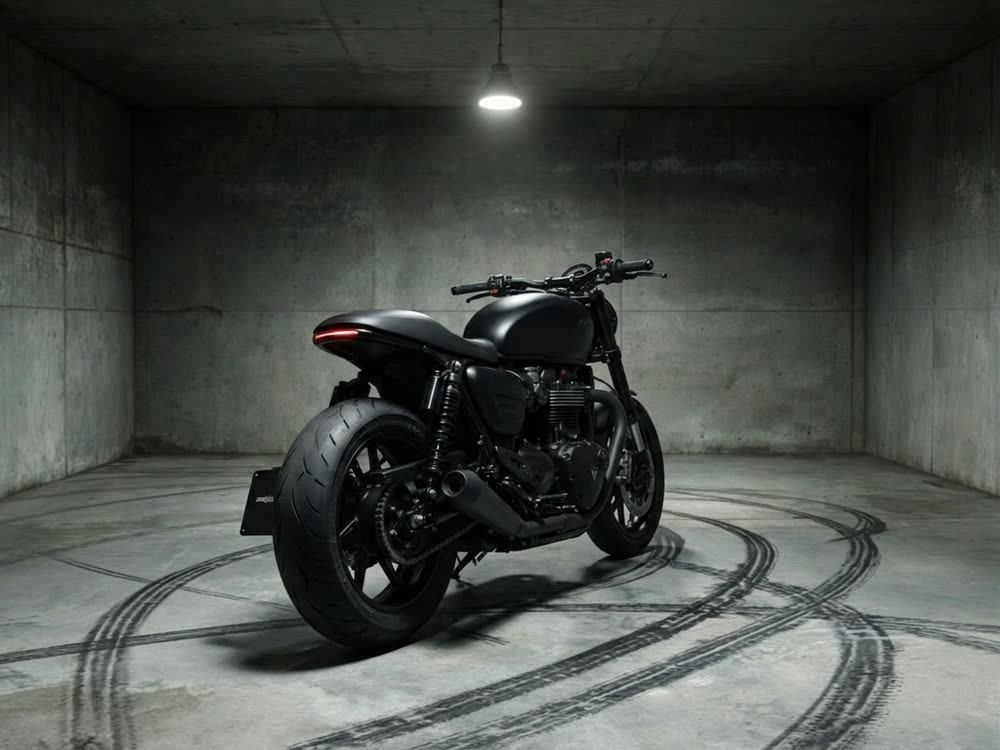
You have one good photo and you need the other side of it: the back of the jacket, the profile of the product, the shot from above for a listing. To change the camera angle of a photo with AI, you keep the subject, the setting and the light exactly as they are and move only the camera. The model infers the parts it cannot see from the parts it can.
This article shows how to do that with Kinoseed's Angles 2.0, and what makes the difference between a convincing new angle and a different object.
What you need
- One clear, well-lit photo of the subject, with nothing covering it.
- A Kinoseed account. A single new angle costs 30 credits, and new accounts start with 50 free credits.
Step by step
- 1
Upload image
One clear shot of the subject you want to re-frame. The cleaner the view, the better the guess about the sides the camera never saw: avoid hands, straps or other objects crossing it.
- 2
Choose the Camera position
Six positions: 3/4 front, 3/4 rear, Profile, Low angle (a hero angle looking up), High angle (looking down) and Overhead (straight top-down).
- 3
Set the Framing
Same keeps the original distance. Closer moves in on the subject, Wider pulls back to show more of the surroundings.
- 4
Pick Aspect and Count, then Generate Angle
Aspect runs from 1:1 to 9:16, with 4:3 selected for you. Count is 1, 2 or 4 images: one costs 30 credits, two 55 and four 110. Ask for several when the angle is a big move, then keep the best.
What it is good at
Products, vehicles, furniture, sculptures and people in a fixed pose. Anything with a clear shape and consistent materials re-angles well, because the model can carry the surface it sees around to the side it does not.
It is a fast way to fill a product listing or a lookbook with matching views from a single photo, or to find a stronger composition for a shot you already like.
Where to be careful
Hidden details are invented, not recovered. If the back of a product has a label, a port or a logo that the front photo does not show, the new angle will not know about it. For a listing, check every invented side against the real object.
Big moves are harder than small ones. 3/4 front from a straight-on photo is a safe step; Overhead from a low side shot asks the model to invent most of the picture.
Taking it further
For a full 360 degree spin of a product as video, use Bullet Time Scene. To re-shoot a frame with a specific cine camera and lens look, try Cinematic Cameras.
More examples
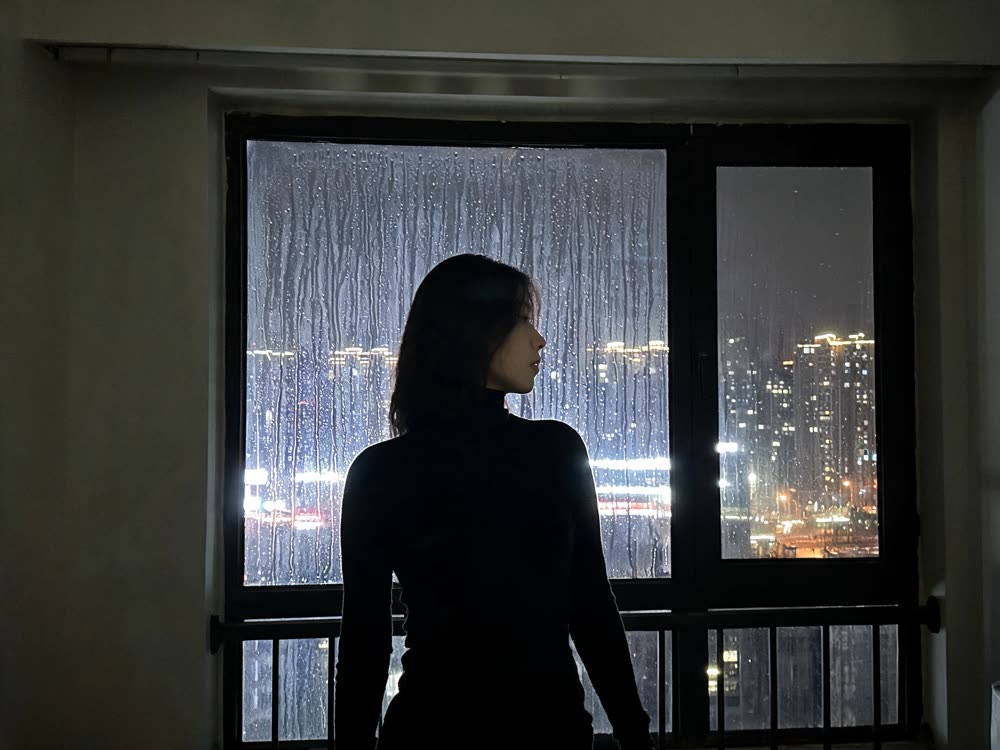
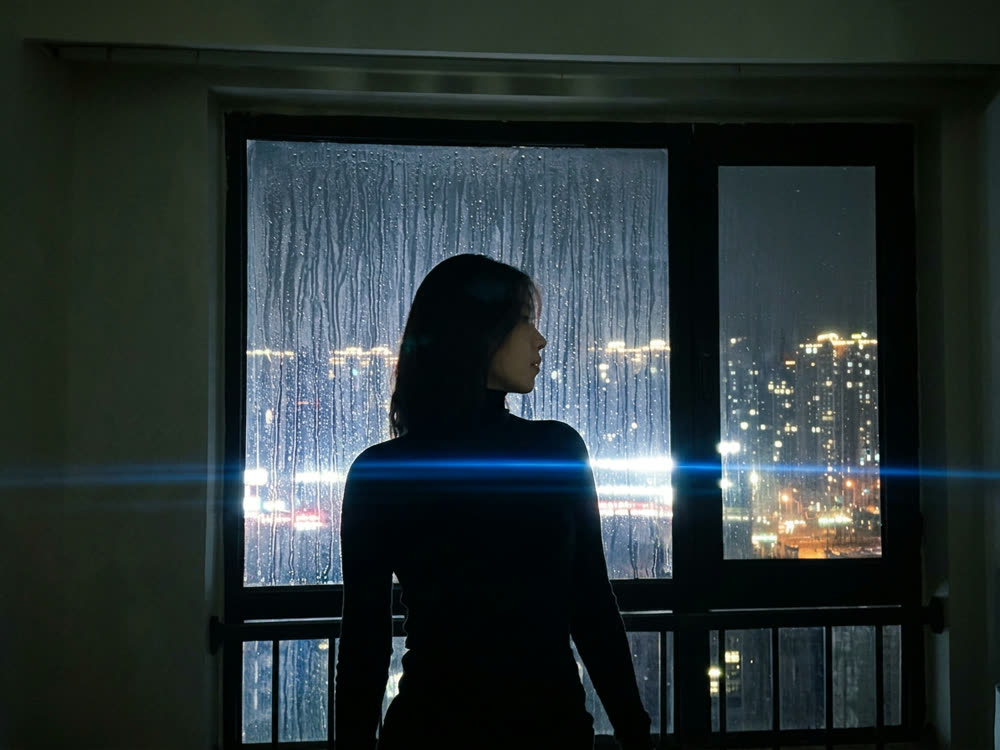
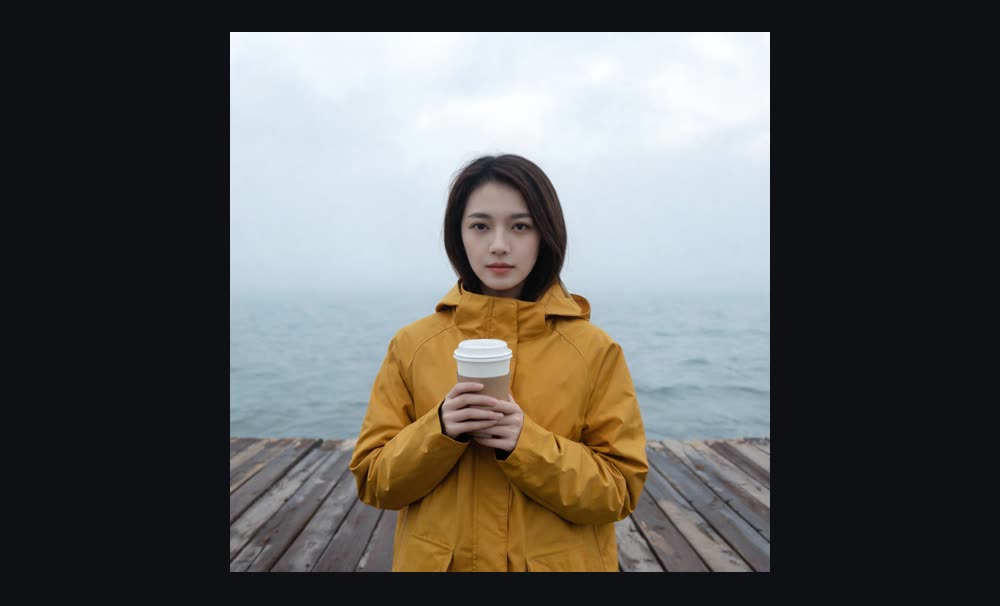
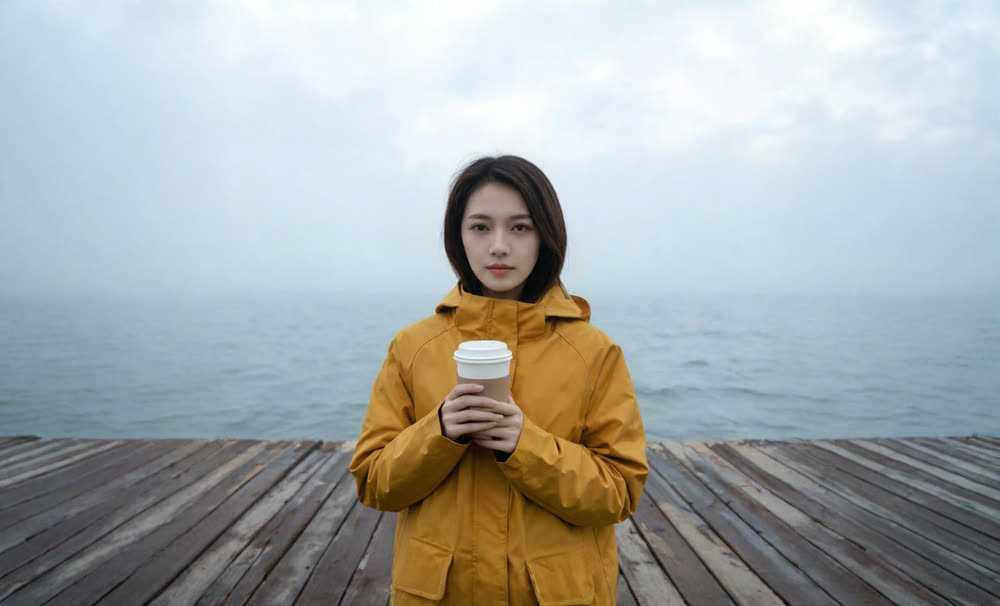
Tips for better results
- Shoot or choose the source at the subject's height. A neutral eye-level view gives the model the most to work from in every direction.
- Change one thing per run: the position or the framing. If a result goes wrong, you will know which choice did it.
- Use Count 4 for rear and overhead views. These are the biggest jumps, and having options saves a second run.
- Need a bigger file for print? Run the chosen angle through Image Upscale.
Frequently asked questions
Can AI really show the back of something from a front photo?
It can make a convincing guess based on the shape, materials and style it sees. Details that are not visible in the original, like a label on the back, are invented and may not match the real object.
Does it change the background or lighting?
The instruction is to keep the subject, the setting, the materials and the lighting direction identical and move only the camera. Large moves may still show parts of the room that had to be filled in.
Which model does it use?
Nano Banana Pro, editing from your photo as the reference.
How much does it cost?
30 credits for one image, 55 for two and 110 for four. New accounts start with 50 free credits, and free results carry a small Made with Kinoseed mark.
Try it on your own photo.
Angles 2.0 is open to explore. The price of a run is on the button before you spend anything.