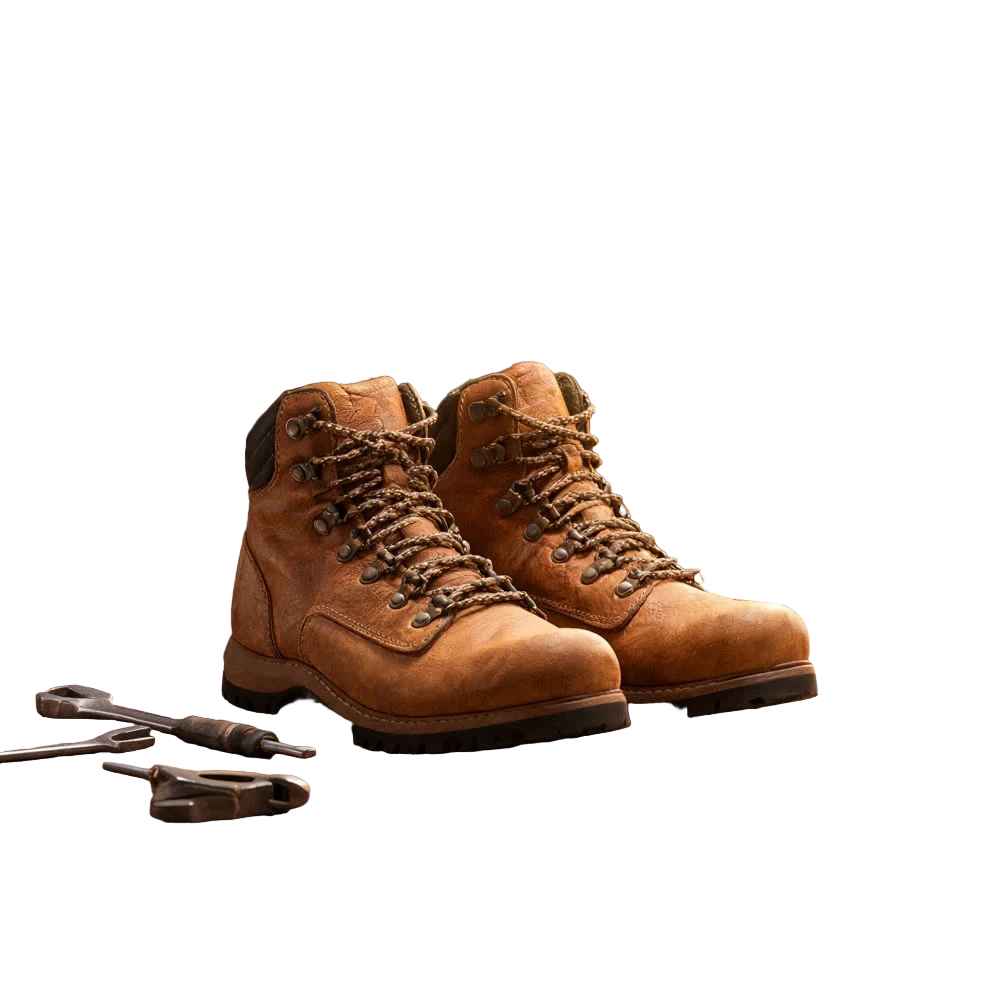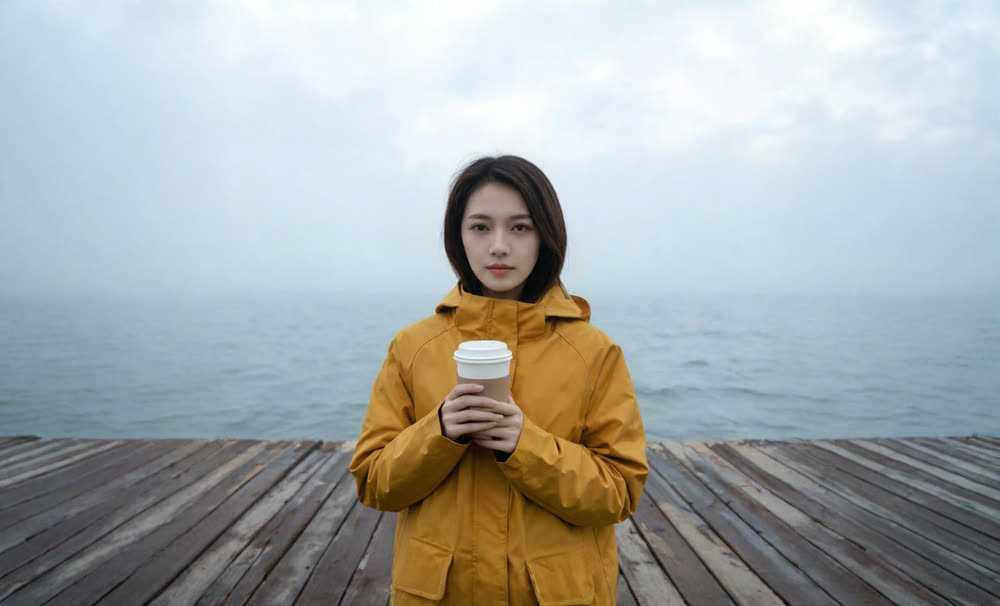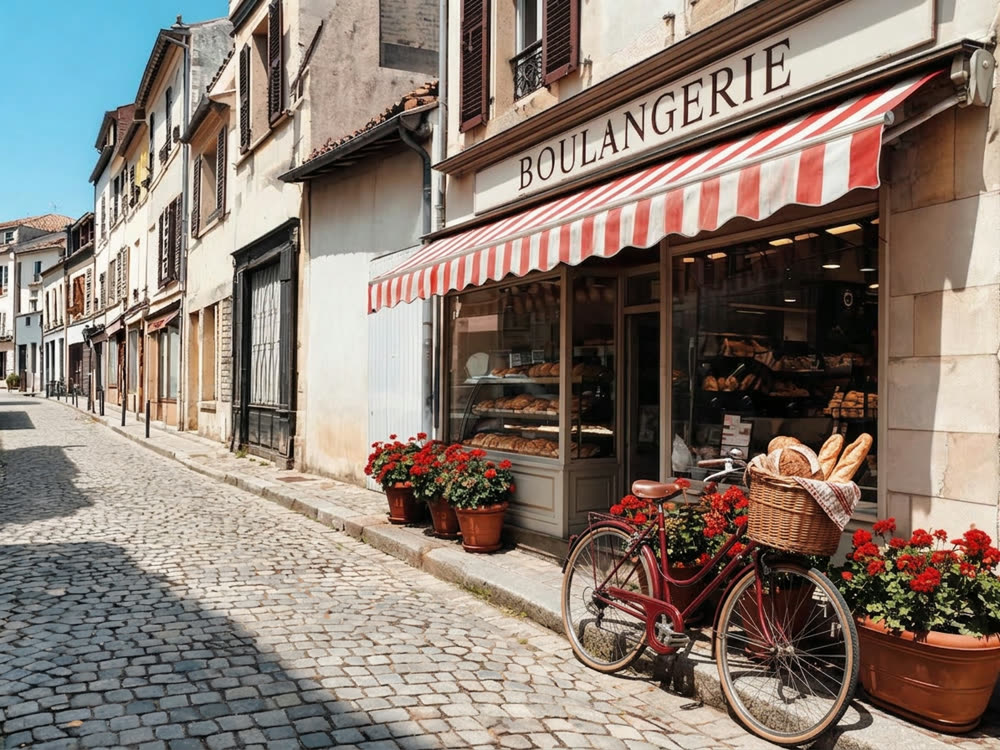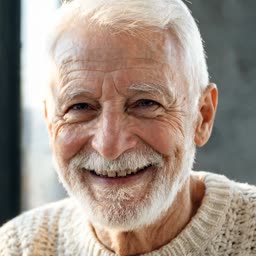
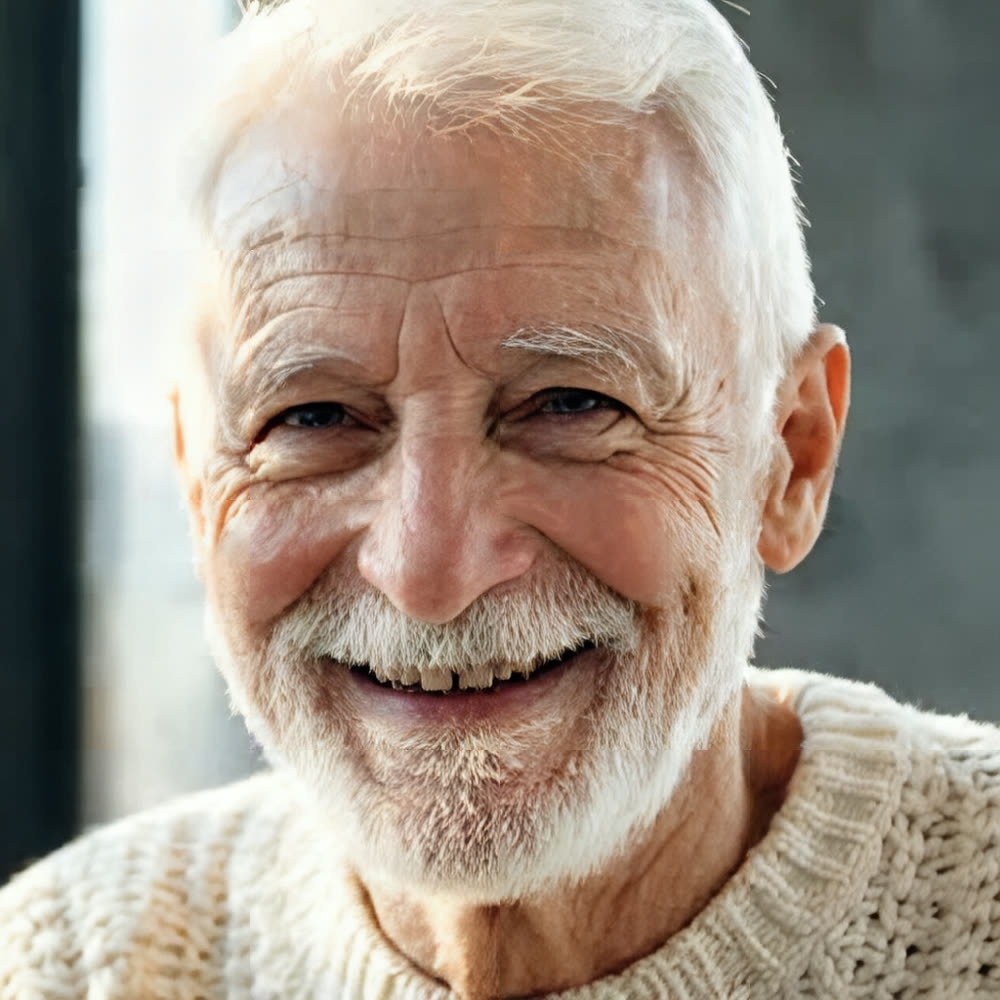
You have the right photo at the wrong size: a thumbnail pulled from an old site, a crop that threw away most of the pixels, a render that came out at 1024px when the print needs 4000. Stretching it in an editor just makes the blur bigger. An AI image upscaler does something different. It rebuilds the missing detail so the enlarged image looks like it was shot at that resolution.
This guide shows how to upscale an image to 4K with Kinoseed's Image Upscale tool, which enlarges any picture 4× in a single run, and how to get the cleanest result out of it.
What you need
- The image you want to enlarge (PNG, JPG or WEBP).
- A Kinoseed account. You can open the tool and look around without one; signing in is only needed to run it.
Step by step
- 1
Open Image Upscale and add your image
Go to Image Upscale and drop your picture into the single image slot. There is nothing to crop or configure first: the frame keeps its exact shape, only the resolution changes.
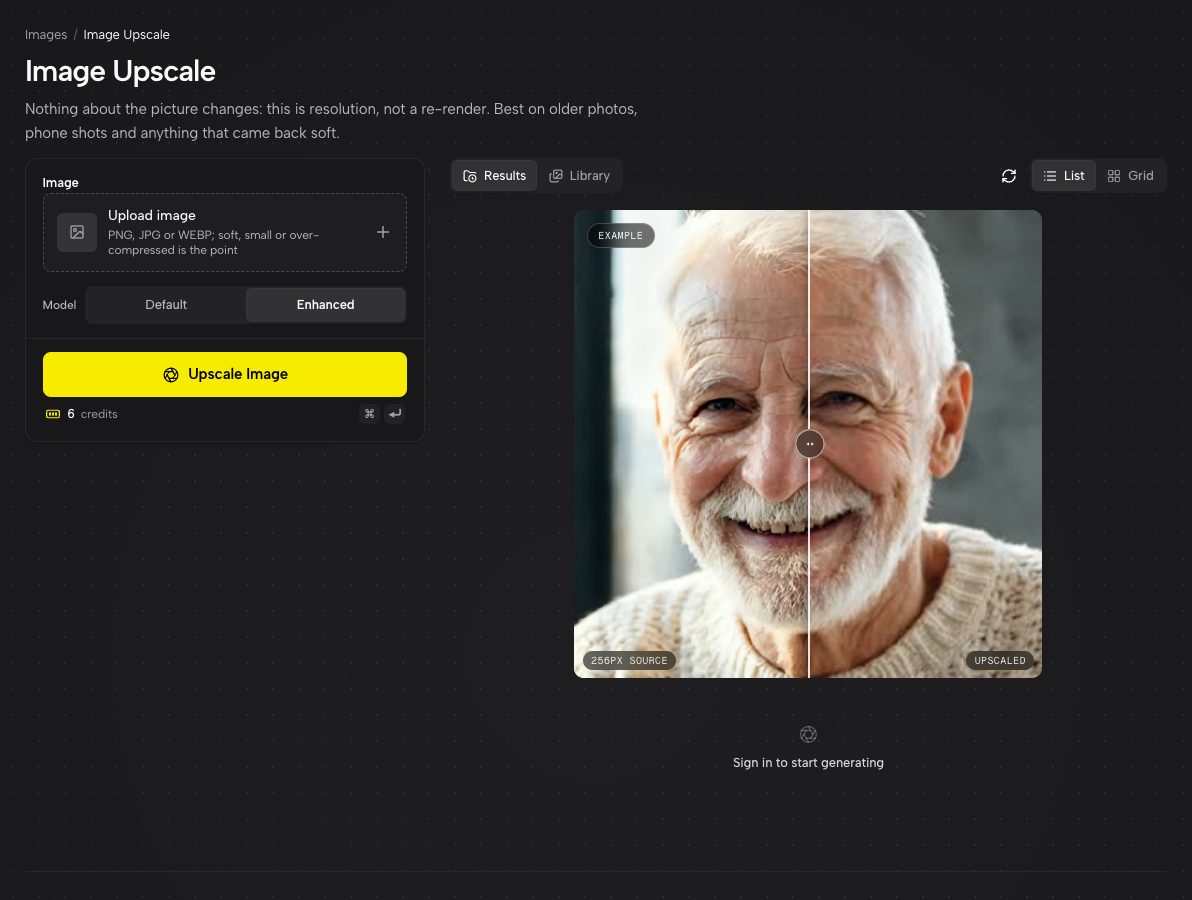
Image Upscale before you add anything: the controls on the left, a real before and after on the right. - 2
Pick the model
The Model setting has two options. Enhanced is selected for you and reconstructs more aggressively, which is what you want on genuinely low-resolution sources and on texture like skin, fabric, hair and foliage. Default is more faithful and conservative, and is all you need for flat graphics, logos and screenshots.
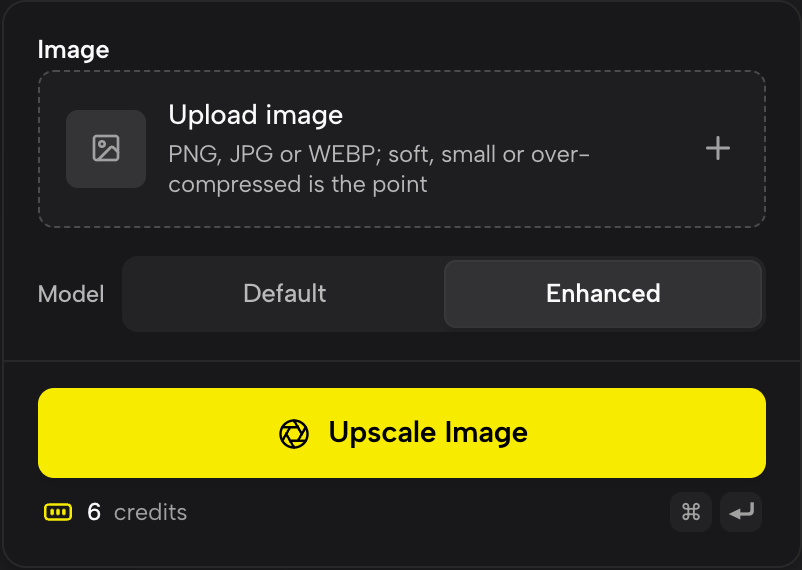
One image slot and the Model setting. The price of the run is under the button. - 3
Press Upscale Image
The price of the run is on the button before you press it. The upscaled image lands in the feed on the right, where you can open it full size and download it. It stays in your history, so you can come back to it later.
How big does 4× get you?
4× multiplies each side by four, so the pixel count goes up sixteen times. A 1000px wide image comes back at 4000px, which is wider than a 4K UHD frame (3840px). A 960px image lands almost exactly on 4K. If your source is smaller than about 500px, one pass gets you to 2K rather than 4K; running the result through a second time is possible, but see the tips below before you do.
Upscaling vs. resizing
Resizing in an image editor interpolates: it averages the pixels you already have, so edges soften and textures turn to mush. An AI upscaler has learned what skin, bark, brick and thread look like at high resolution, and draws that detail back in. That is why the example above has individual hairs in the beard rather than a grey smear.
The flip side is worth knowing. The detail is reconstructed, not recovered. A face that is ten pixels wide comes back as a plausible face, not necessarily the true one. For a product shot or a landscape that is exactly what you want. For evidence or ID photos it is not.
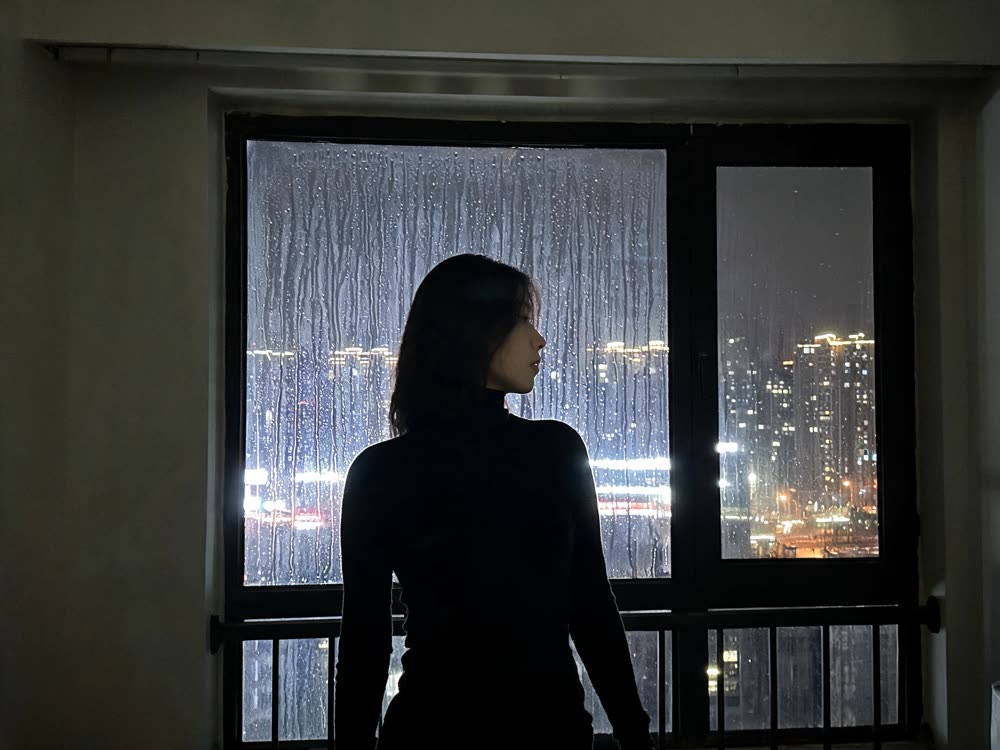
More examples
Tips for better results
- Upscale last. If you plan to inpaint or expand the image, do that first, then upscale the finished frame. Otherwise you pay for detail you are about to paint over.
- Start from the least compressed copy you have. Heavy JPEG blocking gets sharpened along with everything else.
- Enhanced earns its cost on texture. On text, icons and flat colour the two models look almost identical, so Default is the better buy there.
- Chaining two 4× passes works on small sources, but each pass invents more. Check faces at 100% before you use a double upscale anywhere important.
Frequently asked questions
Can AI really upscale an image to 4K without losing quality?
It can enlarge an image to 4K without the blur that normal resizing adds, because it redraws detail instead of stretching pixels. What it cannot do is recover information that was never captured, so very small faces and text are rebuilt plausibly rather than exactly.
What file formats does Image Upscale accept?
PNG, JPG and WEBP. The output keeps the same aspect ratio as the input.
Does upscaling change what is in the photo?
No. The tool only increases resolution. Composition, colour and content stay as they were. If you want to change what is in the frame, use Inpaint or Draw to Edit before upscaling.
How much does it cost?
Each run costs credits. The exact price is shown on the Upscale Image button before you run it, and a failed run is refunded automatically.
Try it on your own photo.
Image Upscale is open to explore. The price of a run is on the button before you spend anything.