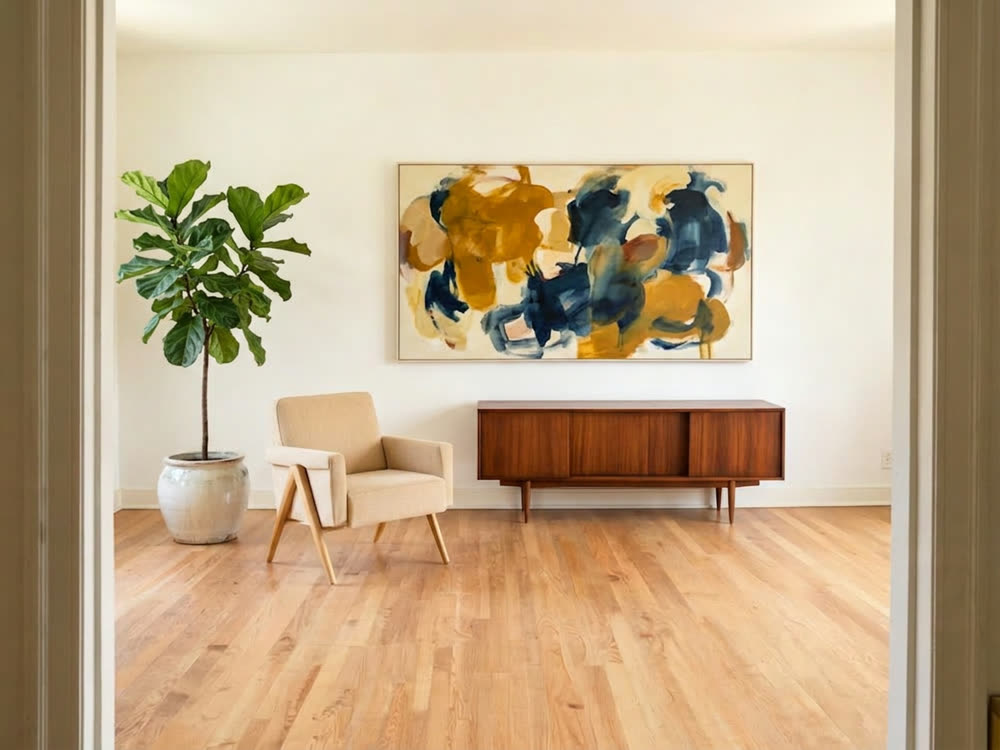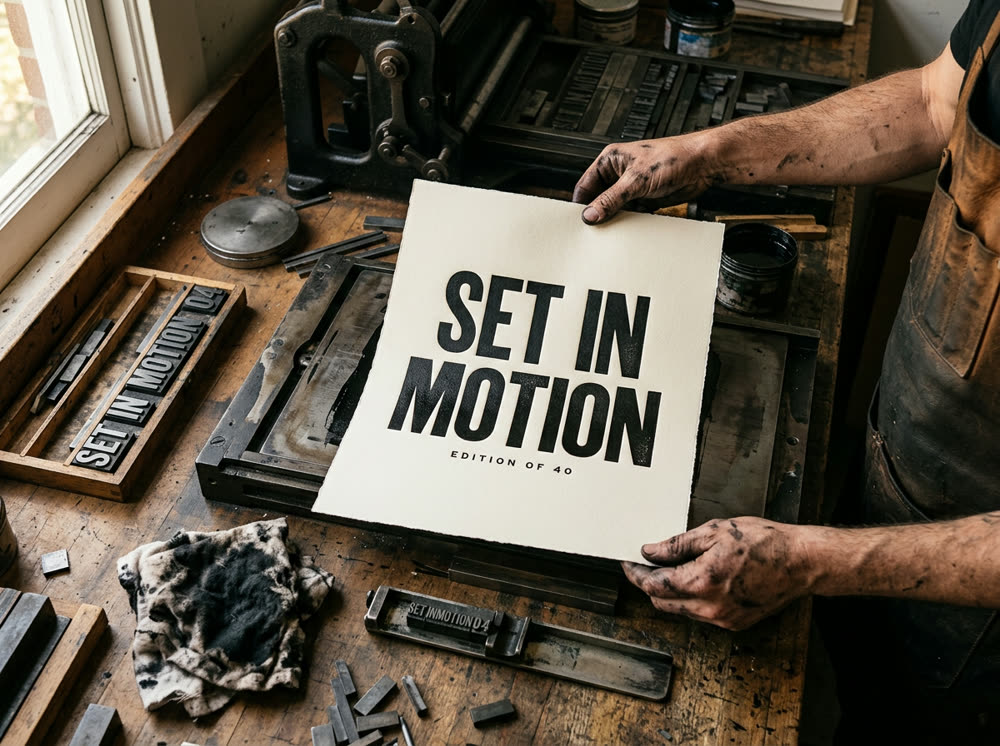
To use Nano Banana Pro for product photos, open the Image studio, switch the Model to Nano Banana Pro, drop your product photo into Reference, describe the new scene in the Prompt and say that the product must stay exactly as it is, then press Generate. A phone photo on a kitchen table is enough to start from. One image costs 30 credits.
Store listings, ads and social posts all need the same product in different settings. This guide covers how to shoot the source photo, prompts for the usual product shots, how to keep the label and shape from drifting, and when a cheaper model is enough.
What you need
- A photo of the product: in focus, in even light, the whole product in frame and the label readable. Plain backgrounds work best.
- If hands or a model appear in the shot you start from, use your own photo or one you have their permission to use.
- A Kinoseed account and some credits. Generating starts with a plan; the $10 Basic plan (500 credits a month) covers 16 Nano Banana Pro images from a Reference at Variants 1.
Step by step
- 1
Open the Image studio and choose Nano Banana Pro
The Model card at the top shows Seedream 5.0 · Lite, the default. Click it and pick Nano Banana Pro; the card then shows its name. The Nano Banana Pro model page opens the studio with it already selected.
- 2
Add your product photo as the Reference
Drop the photo into Reference (optional). It conditions the whole composition, so the new picture is built around your product. Leave Character empty; it is for carrying a person's likeness across renders.
- 3
Describe the scene, and say what must not change
Write the scene first: the surface, the setting, the light and the camera. Then add one line that locks the product: "Keep the product, its label, its shape and its colour exactly as in the photo." Naming those four things is what stops the label from being redrawn.
- 4
Pick the Aspect for where it will be used
Aspect is a dropdown: 1:1, 4:5, 3:4, 3:2, 16:9 or 9:16. Use 1:1 for most store listings, 4:5 for a feed post and 9:16 for a story. Set Variants to 1 while you test the scene: 1 image costs 30 credits and 4 cost 110.
- 5
Press Generate and check the label at full size
The price is on the button. Open the result full size and compare the label, logo and small print with your original before you use it. There is no watermark, and a failed run is refunded automatically.
Prompts to copy
Paste any of these into Image studio as a starting point, then change the details to fit your photo.
Lifestyle, kitchen
Place this product on a light oak kitchen counter beside a bowl of lemons and a folded linen towel, soft morning window light from the left, shallow depth of field, premium lifestyle photo. Keep the product, its label, its shape and its colour exactly as in the photo.
Studio on colour
Studio product photo of this item standing on a pale terracotta plinth against a matching terracotta background, one soft key light, a crisp shadow to the right, clean commercial look. Keep the product, its label, its shape and its colour exactly as in the photo.
Outdoors, natural light
Put this product on a flat grey rock by a mountain stream, moss and ferns around it, overcast daylight, water droplets on the rock, outdoor brand photo. Keep the product, its label, its shape and its colour exactly as in the photo.
Seasonal
Set this product on a wooden table with pine branches, warm fairy lights out of focus behind and a knitted blanket, cosy winter evening light. Keep the product, its label, its shape and its colour exactly as in the photo.
Shooting the source photo
The result can only keep what the photo shows. Shoot by a window in daylight, not under a yellow bulb, hold the phone level with the product, and fill most of the frame with it. A sheet of white paper behind it is enough.
If the product is shiny or see-through, such as glass or chrome, shoot it against a plain background, since reflections of the room tend to be carried into the new scene.
Nano Banana Pro or Nano Banana 2
Nano Banana Pro plans the image before drawing it, which helps with busy scenes and small text on a label. It costs 30 credits an image from a Reference, against 16 on Nano Banana 2. A common way to work is to try the scene on Nano Banana 2 and run the final on Nano Banana Pro. See pricing for the plans.
For a plain packshot on pure white, the AI packshot template does the whole job from one line. To make the product move, the AI product ad template turns the same photo into a short vertical video.
More examples
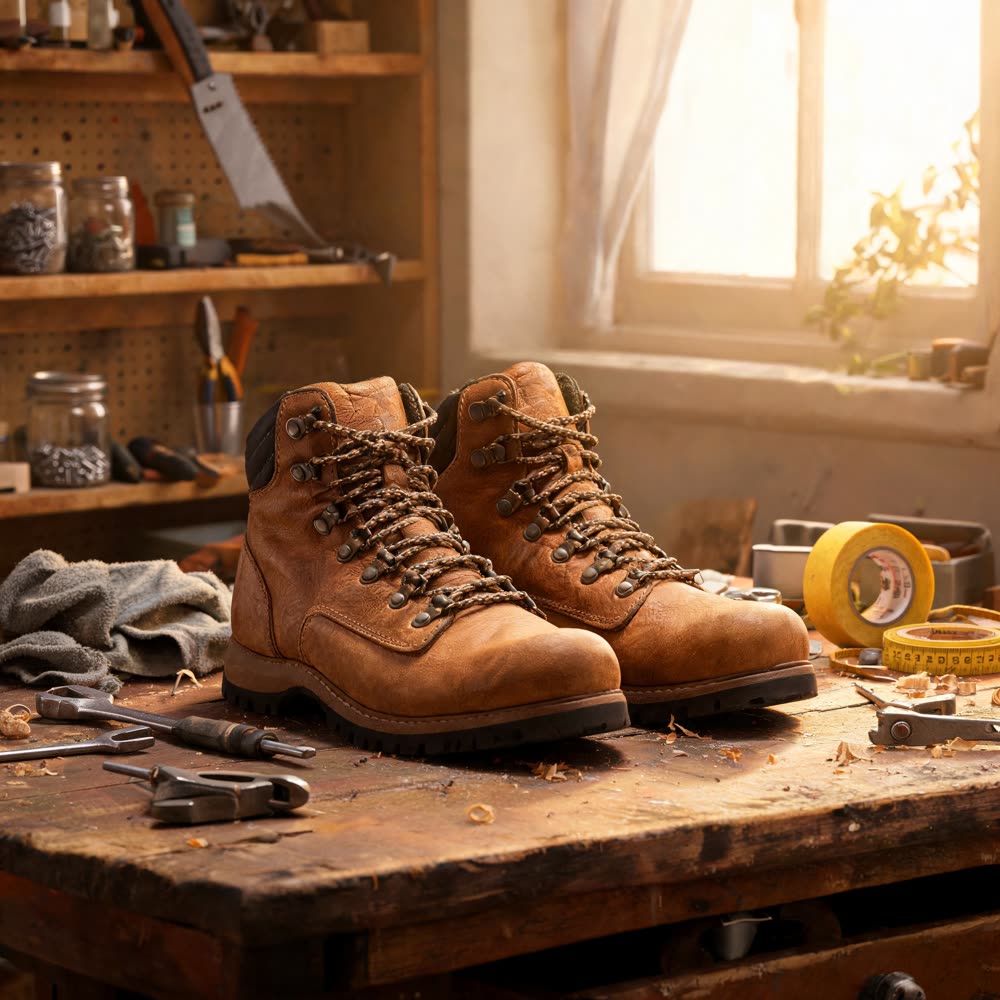
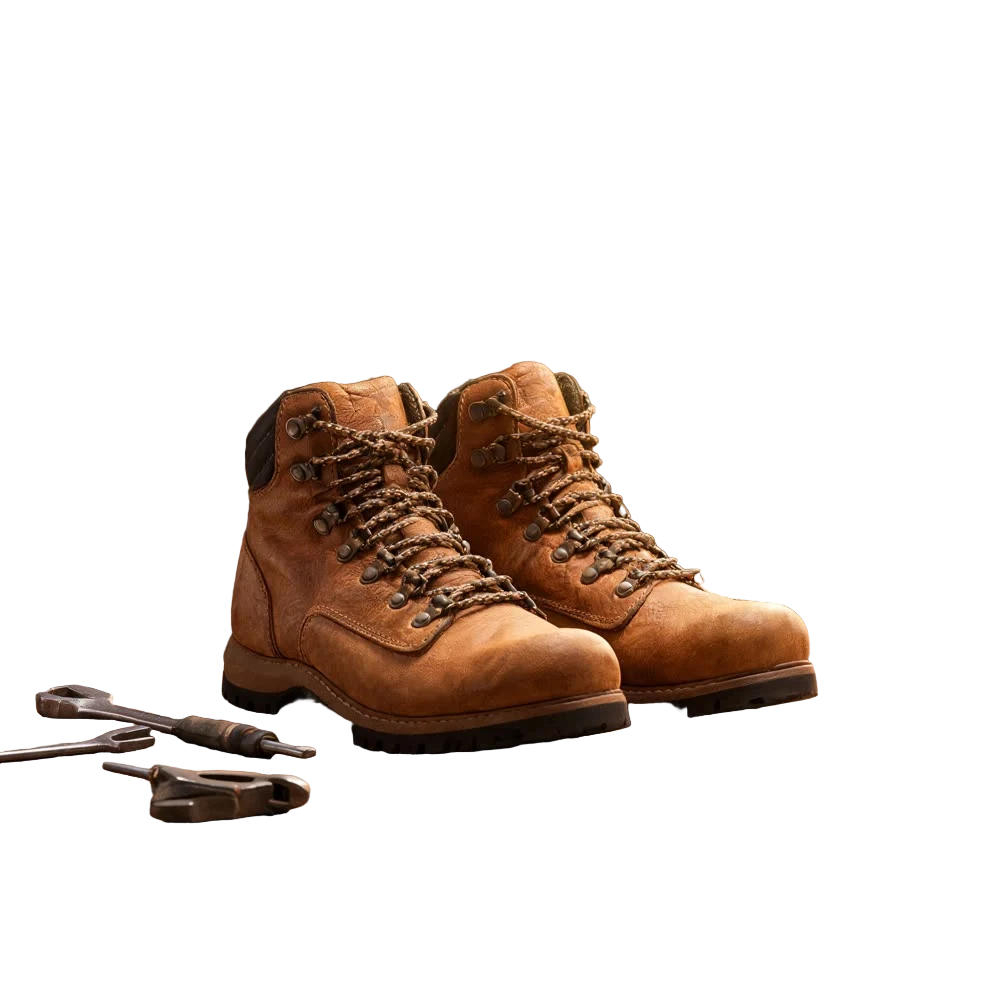
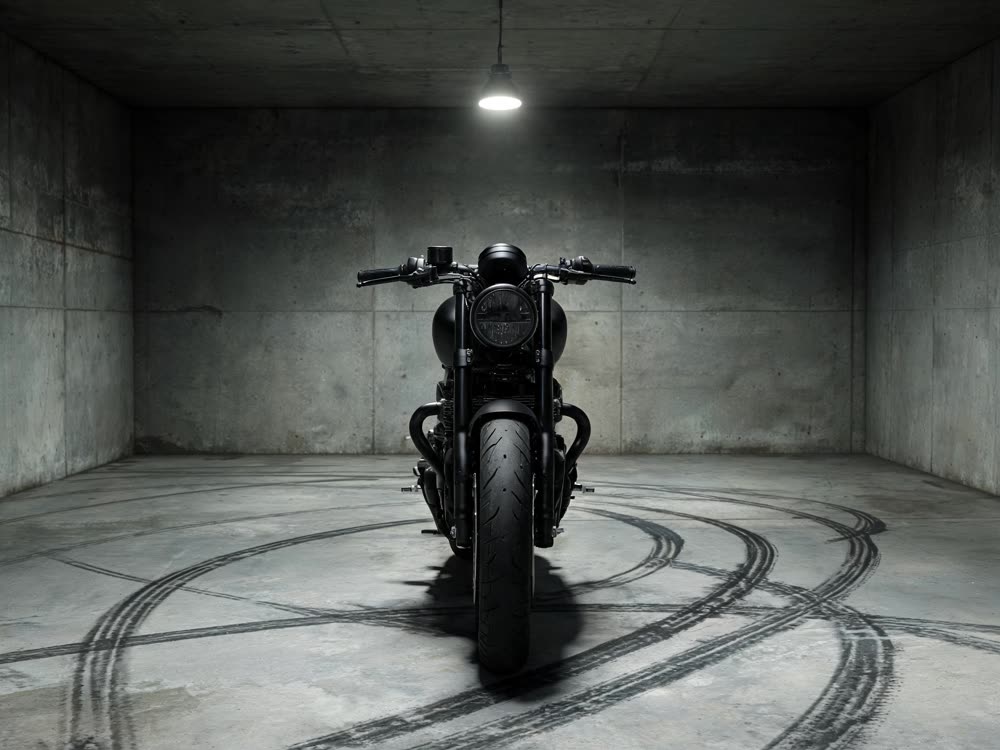
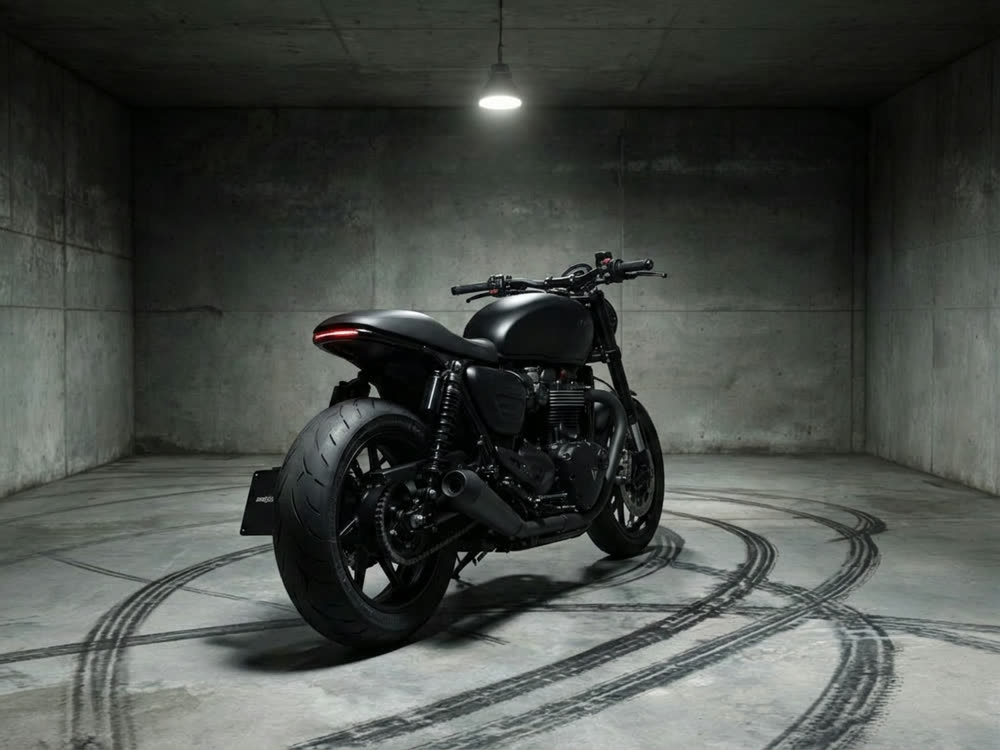
Tips for better results
- Always add the line that keeps the product, its label, its shape and its colour. It is the most important sentence in the prompt.
- Describe the light, not just the place. Light that matches the scene is what makes a product look placed rather than pasted.
- Say what the product stands on. A product on a counter or a rock looks real; one floating in a room does not.
- Need the same product from another side? New Angle turns it from one photo.
- For a bigger file, run the result through Image Upscale after you pick the keeper.
Frequently asked questions
Will Nano Banana Pro change my product?
It can if the prompt leaves room for it. Say that the product, its label, its shape and its colour must stay exactly as in the photo, and check the label at full size before you use the image. If something drifted, run it again or tighten that line.
What does one product photo cost?
Generating starts with a plan. One Nano Banana Pro image from a Reference costs 30 credits, and Nano Banana 2 costs 16. The exact price is on the Generate button before you run it.
Can I use the images in my store and ads?
Yes, they download as normal image files with no watermark. Check each marketplace's own image rules, for example a pure white background for the main listing photo, before you upload.
Can I put the product in a model's hands?
Yes, describe the hands or the person in the prompt. If you start from a photo of a real person, use your own or one they agreed to, and don't make it look as if someone endorses a product they have not.
Try it on your own photo.
Image studio is open to explore. The price of a run is on the button before you spend anything.